The surface of the body, usually on the back and neck. Here’s what you should know about this technique and what others have said about its use in pain management.
Gua sha (pronounced gwah sah) is a traditional east Asian healing technique – also known as cao gio, coining, scraping, and spooning. It uses friction and scraping on the back to treat numerous conditions. It may help with everything from pain and inflammation to stiffness and soreness.
Click Here to Visit the Store and find Much More….
Gua sha is believed to promote a healthier flow of energy. Ancient Chinese medical techniques are experiencing wide-spread popularity in the U.S. today. The wisdom and apparent effectiveness that is found in these Eastern healing arts are appealing as an alternative to an often over-medicated culture. Gua sha and other treatments may help alleviate pain in less invasive ways than other solutions. They may also be reasonable alternatives before considering surgical correction.
The procedure is done with light strokes from a smooth implement. Objects such as a smooth coin, ceramic soup spoon, and jade have been used in the past but the most common tool today is a rounded metal cap. Prior to rubbing the body with the implement, your therapist will lubricate your skin with oil.
While a gua sha treatment can feel uncomfortable, many people have experienced much pain relief from it.
All of the muscles of the body are encased in fascia, a thin membrane. This membrane may become tight or constricted due to various conditions, not the least of which is injury or chronic pain.
Gua sha is one way to help restore circulation to the fascia and break up tension and tightness. “Gua” means “to scrape,” and “sha” refers to the red rash that is a result of this scraping. According to Chinese practitioners, this friction breaks up adhesions in the tissues and releases stagnant “winds” or qi, releasing blockages in meridians that can be causing pain or soreness in the body.
Physiologically, gua sha increase blood circulation within the tissues. For this reason, it can be used for any conditions that may be caused by poor circulation of blood (e.g. Inflammation). The Graston technique or augmented soft tissue mobilization (ASTYM) is a similar technique. It’s used by athletic trainers to release scar tissue and ease fascial constriction. Other therapists, such as massage therapists and chiropractors, may use ASTYM to treat acute or chronic soft tissue pathology.
It is believed that this procedure allows the unhealthy energy from the affected area to leave the body and stimulates blood flow and healing. Gua sha may help with the following conditions:
- General pain
- Asthma
- Bronchitis
- Colds
- Flu
- Fever
- Skin issues
- Heatstroke
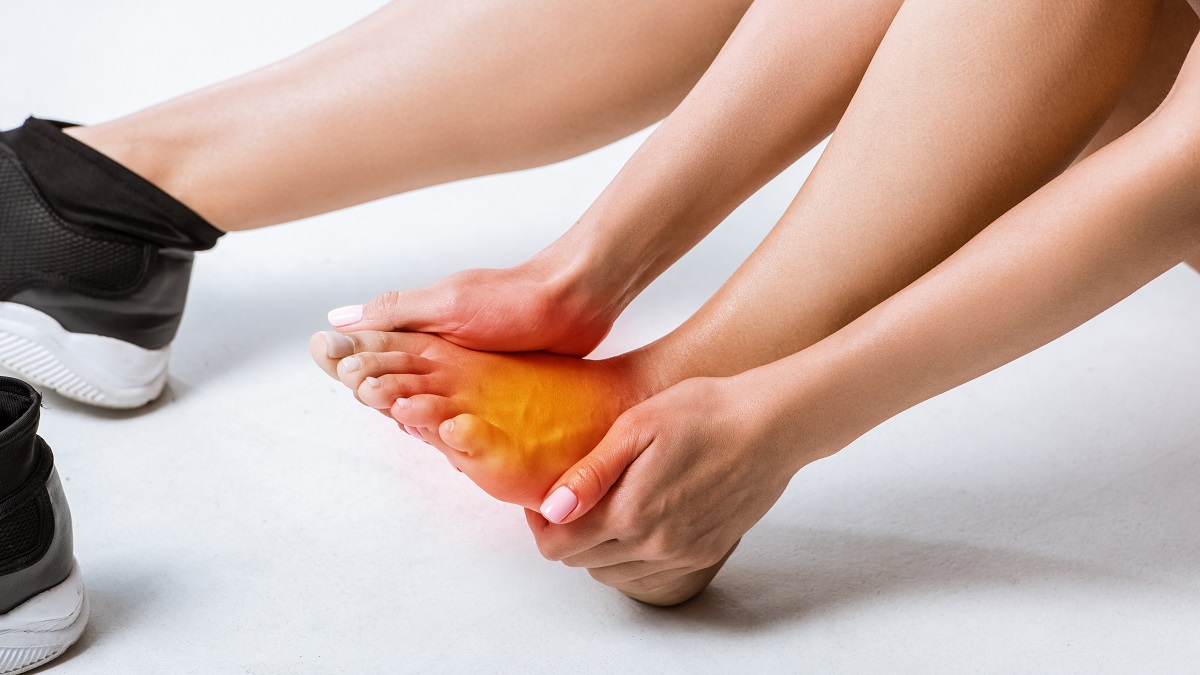
- Fibromyalgia
- Strains and sprains
- Muscle spasms
Click Here to Visit the Store and find Much More….
Gua sha works by increasing the blood flow to different areas of the body. It is believed that this releases the body’s natural pain fighting systems and blocks the pain pathways creating relief. This increased blood flow, known as microcirculation, has been scientifically proven to occur in the areas treated with the gua sha technique.
Neither the literature nor the current national standards sufficiently address safety standards for gua sha. However, it is thought that gua sha should also be avoided in areas with bruising, or superficial skin lesions such as burns and open sores, and in areas overlying bony prominences such as the spine. This treatment is also contraindicated in the genitalia.
There are a few additional patients who should avoid gua sha, including:
- Pregnant women
- Those taking blood thinners
- Anyone with a bleeding disorder
Because of the discomfort of the procedure, children should not receive it.
What can I expect during a gua sha session?
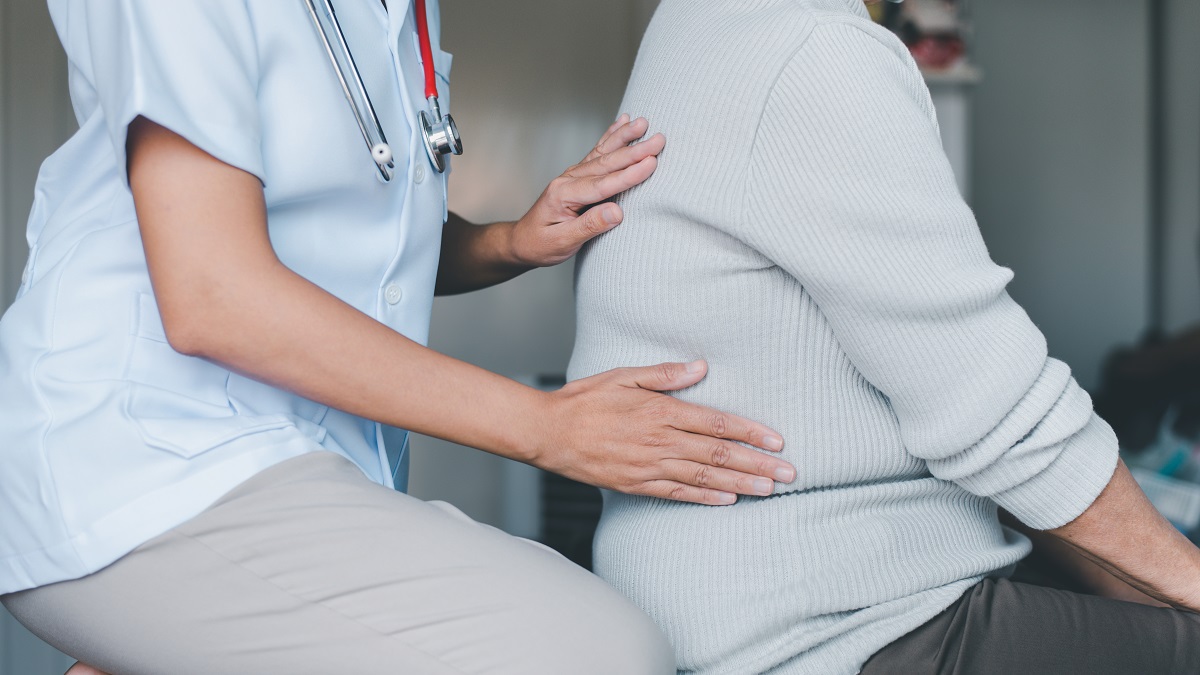
In the United States, a licensed acupuncturist generally performs this treatment. Before undergoing the gua sha treatment, your acupuncture therapist will discuss your specific pain and symptoms.
Most gua sha sessions begin with a deep tissue massage or palpations along the back to find adhesions or scar tissues. When an area of the skin is pressed, it will turn pale. After the pressure is released, that area should quickly refill with blood. A slow capillary response where blood does not quickly rush back to the area when pressure is released means that circulation to that area may be compromised. This tells the therapist which areas need more pressure. Massage, palpations, and testing capillary response help the therapist identify potential areas that need more pressure. The practitioner also looks for areas that display blanching or delayed capillary refill.
The color and duration of the rash helps the gua sha practitioner diagnose and tailor a treatment plan to suit the patient. For example, light-colored sha can indicate a “deficiency of blood,” whereas dark-colored sha suggest the blood has been stagnant for an extended period.
The therapist will use a circular tool – spoons are common- and either oil or an abrasive substance to sweep down the back. This can increase microcirculation in the tissues of the back. The result is a rash underneath the skin caused by petechiae or ecchymoses (small leakages of blood). The color of the rash (dark or light) helps the gua sha therapist to plan future treatments.
Click Here to Visit the Store and find Much More….
Areas that are most-often treated include the:
This treatment can be extremely uncomfortable (bordering unbearable for some).
Research on gua sha is in its infancy. Scientifically valid studies of its efficacy are small, few, and far between, but there does seem to be a push for a deeper look based on a few solid positive outcomes. That being said, there is increasing evidence that reflex therapies such as massage, gua sha, cupping and acupuncture help to reduce symptoms of pain by affecting the function of nociceptors, or pain-sensing neurons, and the spinal cord. Moreover, these social, comforting therapies may benefit patients experiencing pain by promoting relaxation.
One study of 48 patients with neck pain in Kliniken Essen-Mitte, Academic Teaching Hospital of the University Duisburg-Essen, Germany found that those in the gua sha group found that their neck pain decreased significantly when compared to the control group (which utilized a heating pad for pain relief).
Another study wanted to examine the claim that gua sha increased microcirculation. Increasing circulation in the body can help on a number of levels, including in reduction of inflammation and pain. Researchers at the Beth Israel Medical Center’s Continuum Center for Health and Healing found a fourfold increase in microcirculation shortly after gua sha treatment was administered, a result that was significantly more pronounced in female study participants. This same study also found that there was a pain-relieving mechanism to the treatment, but researchers were unable to identify it.
There is also research that supports ASTYM, the therapy that is very similar to gua sha. This research is sponsored by the company that makes ASTYM therapy tools, but the results span the U.S. and include data from 10,000 study participants. The full report includes promising results, such as:
- Decreased pain and increased range of motion where scar tissue is present
- Increased fibroblast activation and number (fibroblasts are the most common cells in human connective tissue and help with wound repair and construction of cartilage)
- Improved tendon repair
Yet another meta-analysis of studies looking at gua sha found five randomized controlled trials and two controlled clinical trials that presented scientifically valid conclusions. The analysis focused on musculoskeletal pain and identified three possible pain-relieving mechanisms:
- Increase in microcirculation
- Stimulation of serotonergic, noradrenergic, and opioid systems to relieve pain
- Interference with the nociceptors, pain sensors, that then minimizes pain
Click Here to Visit the Store and find Much More….
For More Information Related to Fibromyalgia Visit below sites:
References:
Fibromyalgia Contact Us Directly
Click here to Contact us Directly on Inbox
Official Fibromyalgia Blogs
Click here to Get the latest Chronic illness Updates
Fibromyalgia Stores